Creating Document Packages
Step 1: Create the new document package
From within the desired event, click the Documents tab. From here New package button in the upper-right.
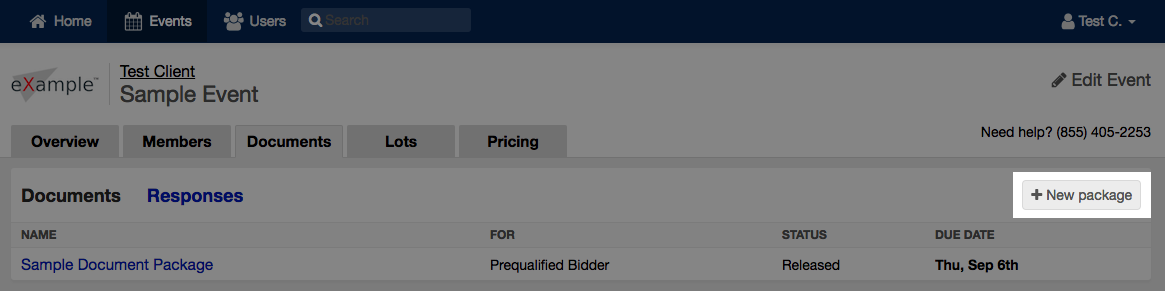
If your event has existing document packages, you will be taken to the Responses view when you click the Documents tab. Simply click the Documents view.
Step 2: Complete the form
From this screen, you'll complete all the required fields to create the lot.
- Name: The name of the document package will appear on the dashboard, event overview, and the documents tab.
- Document Permissions: Determines who can access a document package.
- Public: All users of the software.
- Restricted: Bidders with the corresponding minimum stage.
- Team Members: Team members configured in the event.
- Release at: The date after which the document package appears for bidders.
- Due at: The date responses are due.
- Allow bidders to upload documents: When enabled, bidders can upload documents in response to the document package.
- Description: These instructions will be shown with the document package. Formatting is available via Textile markup.
- Attachments: Drag and drop files onto the web browser, or click the Add Files button to locate and upload files that will be attached for bidders to download.
- Tasks: Add tasks for bidders to check off. Check the Destroy box to remove unneeded tasks. Click New Task to add more.
IMPORTANT: For more information on how document permissions work, see the Document Packages Overview link in the related article list at the bottom of this page.
Step 3: Save the document package
When you are satisfied with your configuration, click the Save package button.